User Guide
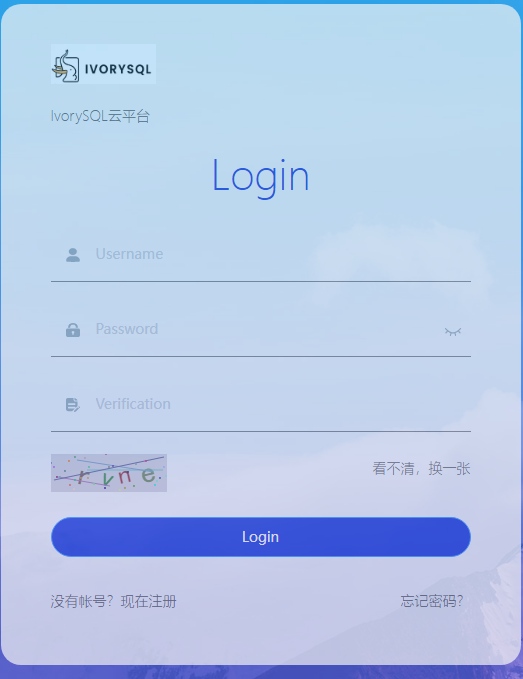
IvorySQL Cloud is a web-based service platform that can be accessed from any computer through a browser. After installing the cloud service platform on the server with IP 192.168.31.43, open a browser and enter http://192.168.31.43:9104/ (9104 is the port configured in nginx.conf.default) to reach the login page:


2. Administrator Features


3. demo User Features
3.1. Database Subscription
-
Sign in with the
demouser. -
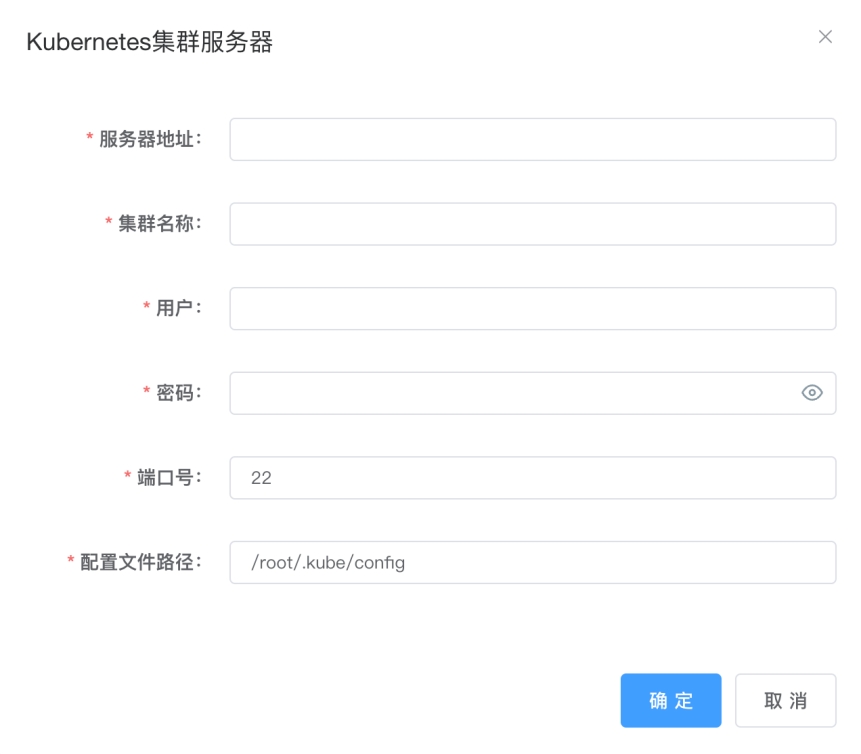
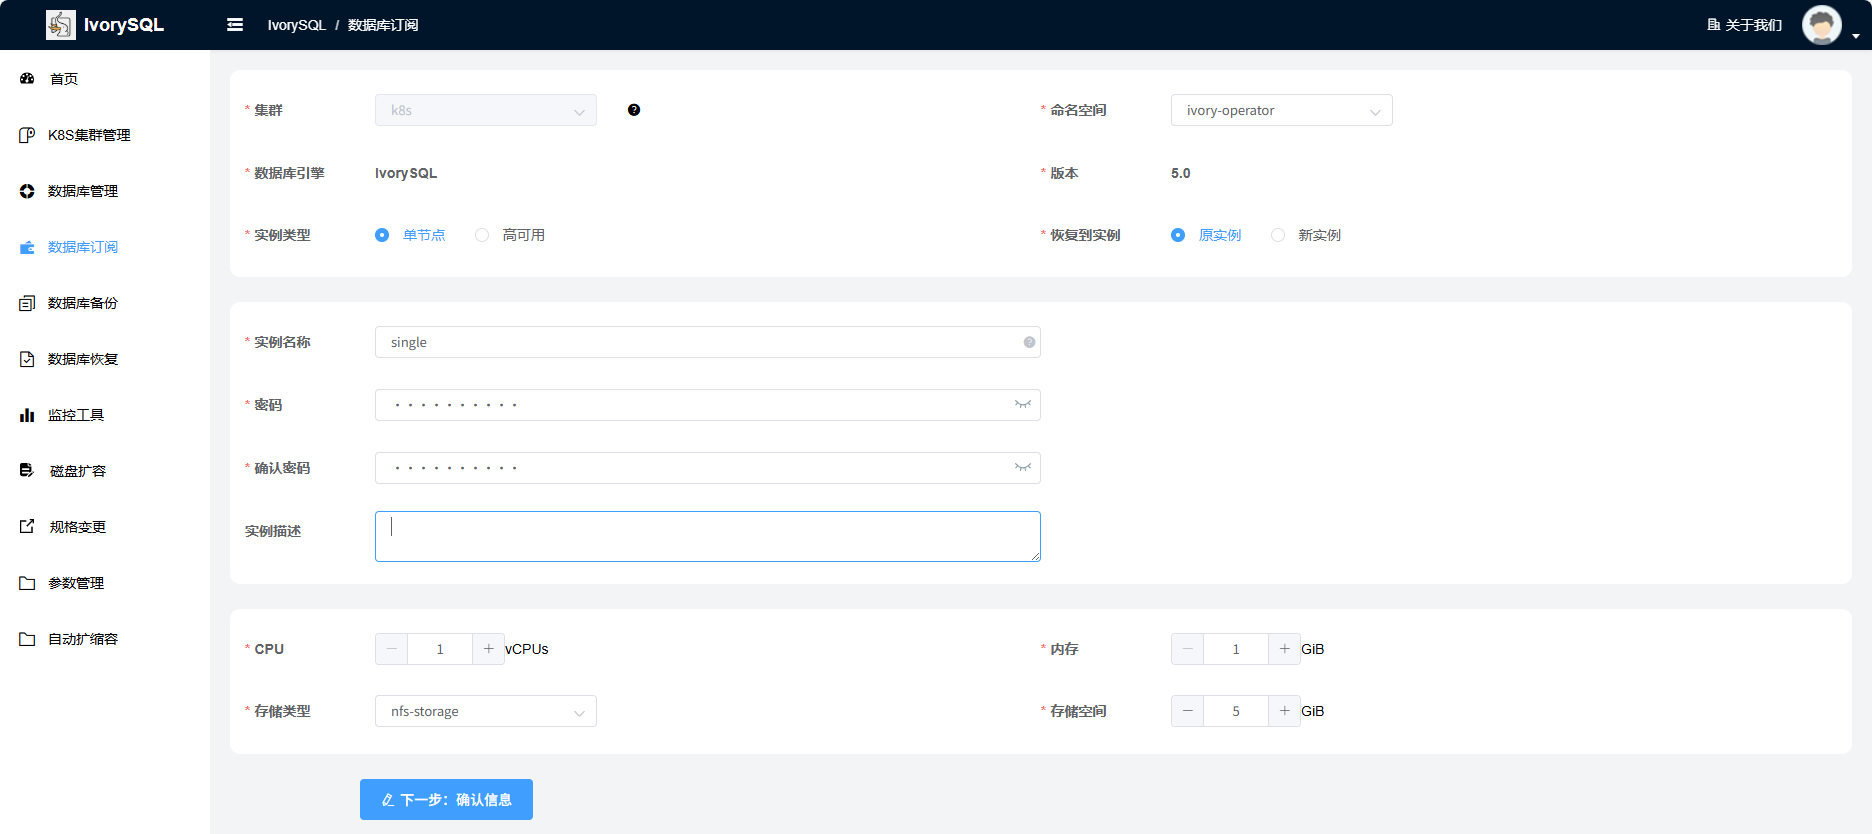
Click Database Subscription in the left navigation, fill in the database parameters, and click Next: Confirm.

-
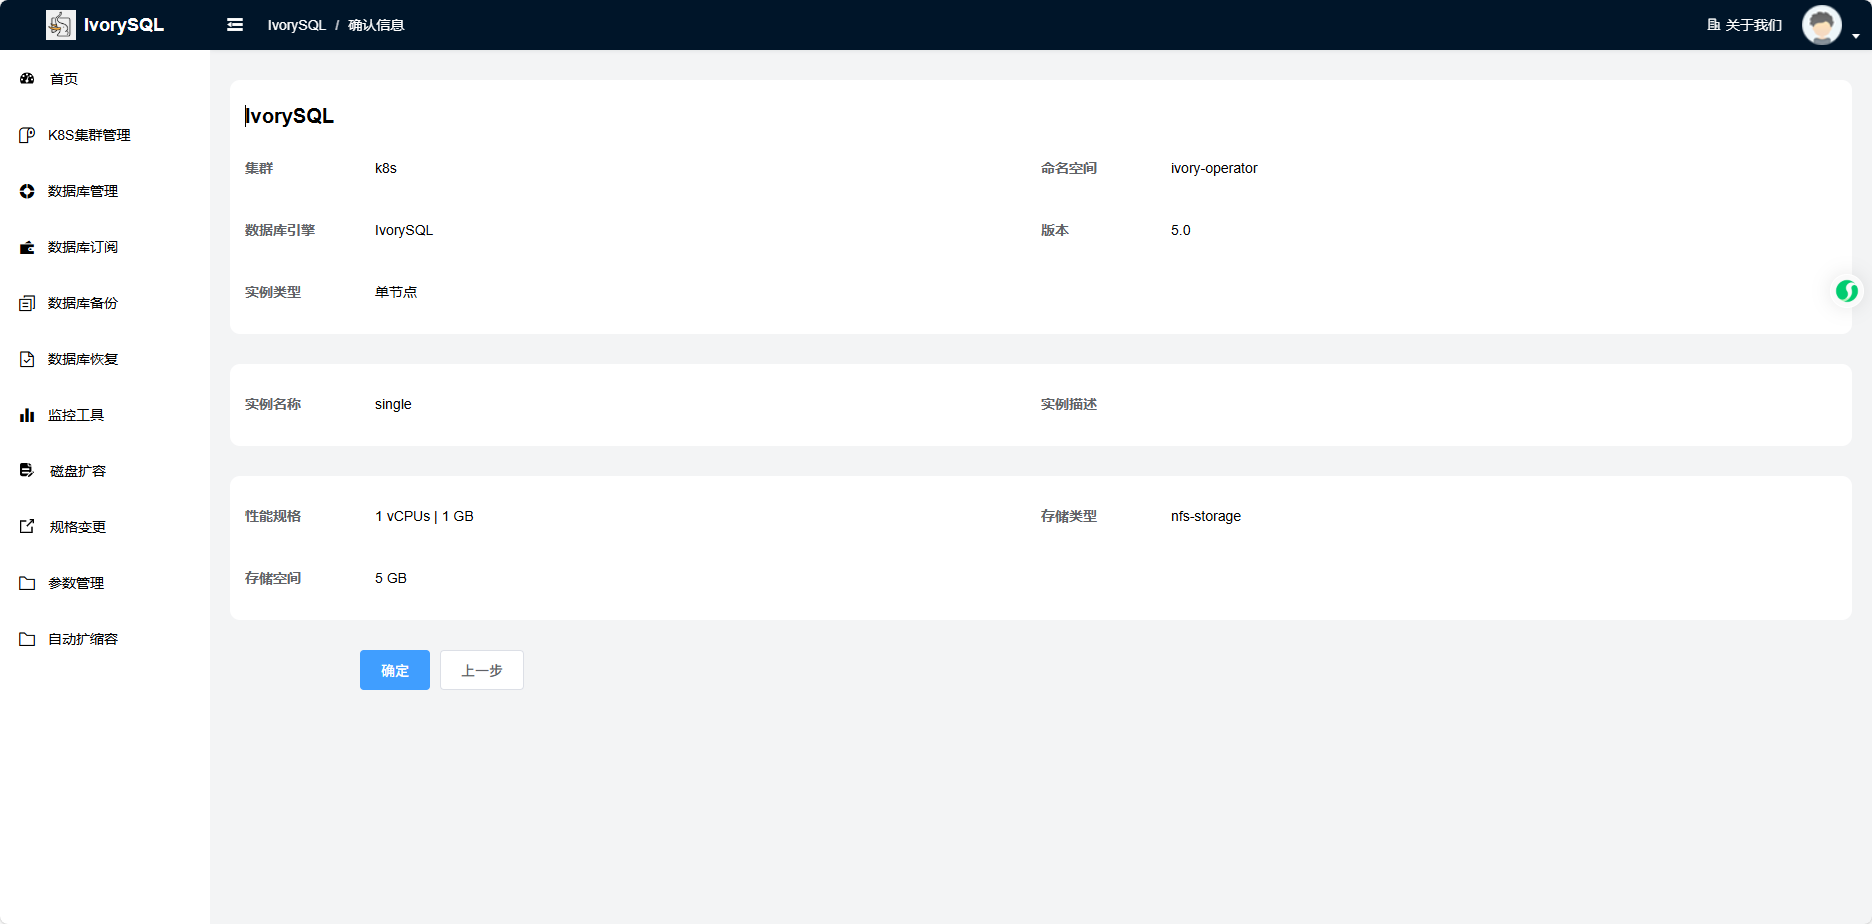
Review the information and click Confirm.
-
After confirming, the page automatically redirects to Database Management to show the subscription task.


3.3. Restart a Database
-
Sign in with the
demouser. -
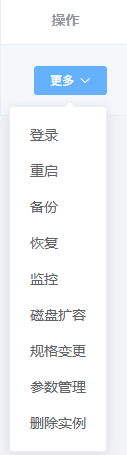
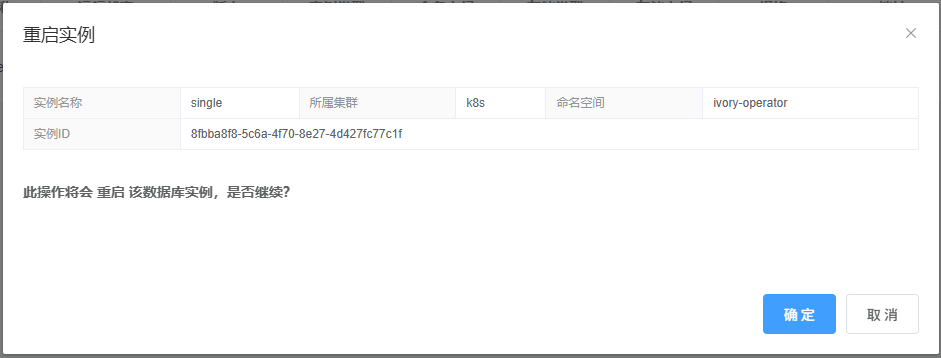
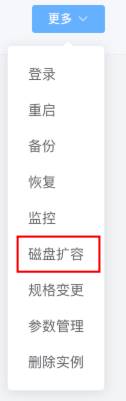
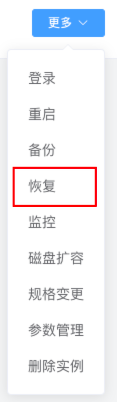
Go to Database Management, select a database, click More in the Actions column, and choose Restart.
-
Review the information and click Confirm.
3.4. Change the Password
-
Sign in with the
demouser. -
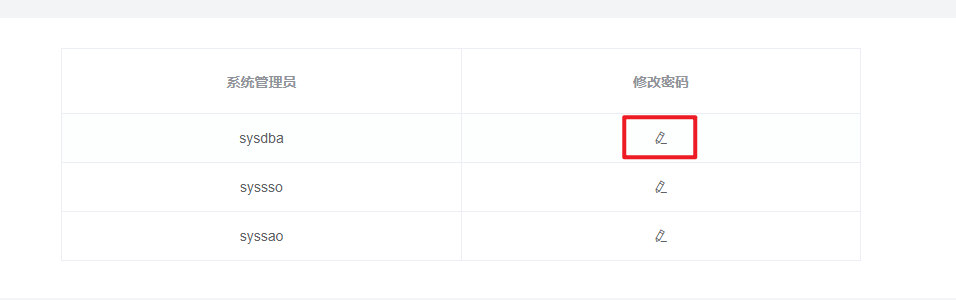
Go to Database Management, select a database, and click its Instance ID.
-
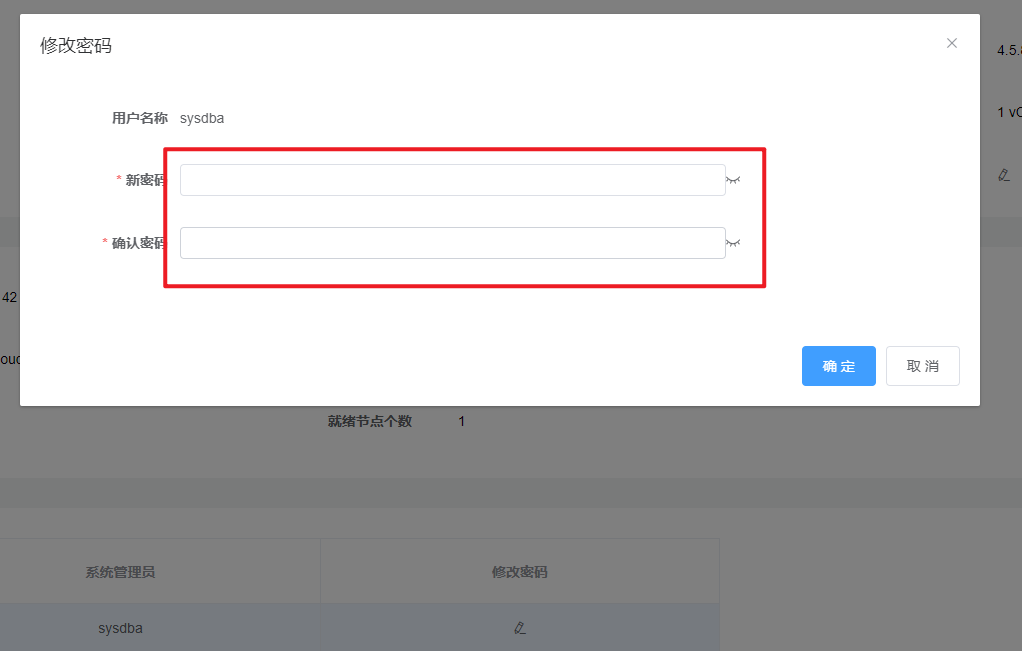
On the database details page, click the password icon.
-
Enter a new password and click Confirm.
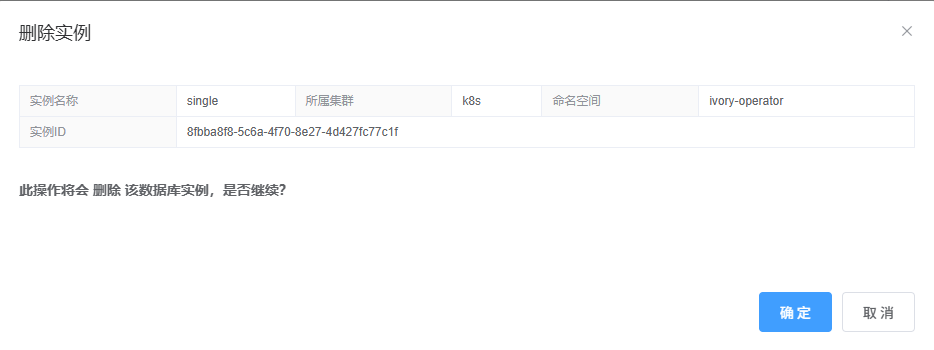
3.5. Delete an Instance
-
Sign in with the
demouser. -
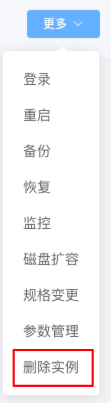
Go to Database Management, select a database, click More in the Actions column, and choose Delete Instance.
-
Review the confirmation window and click Confirm.
3.6. Storage Expansion
-
This feature requires additional plug-ins such as TopoLVM.
-
Sign in with the
demouser. -
Click Storage Expansion, select a database, then click Edit in the Actions column; alternatively, go to Database Management, click More, and choose Storage Expansion.
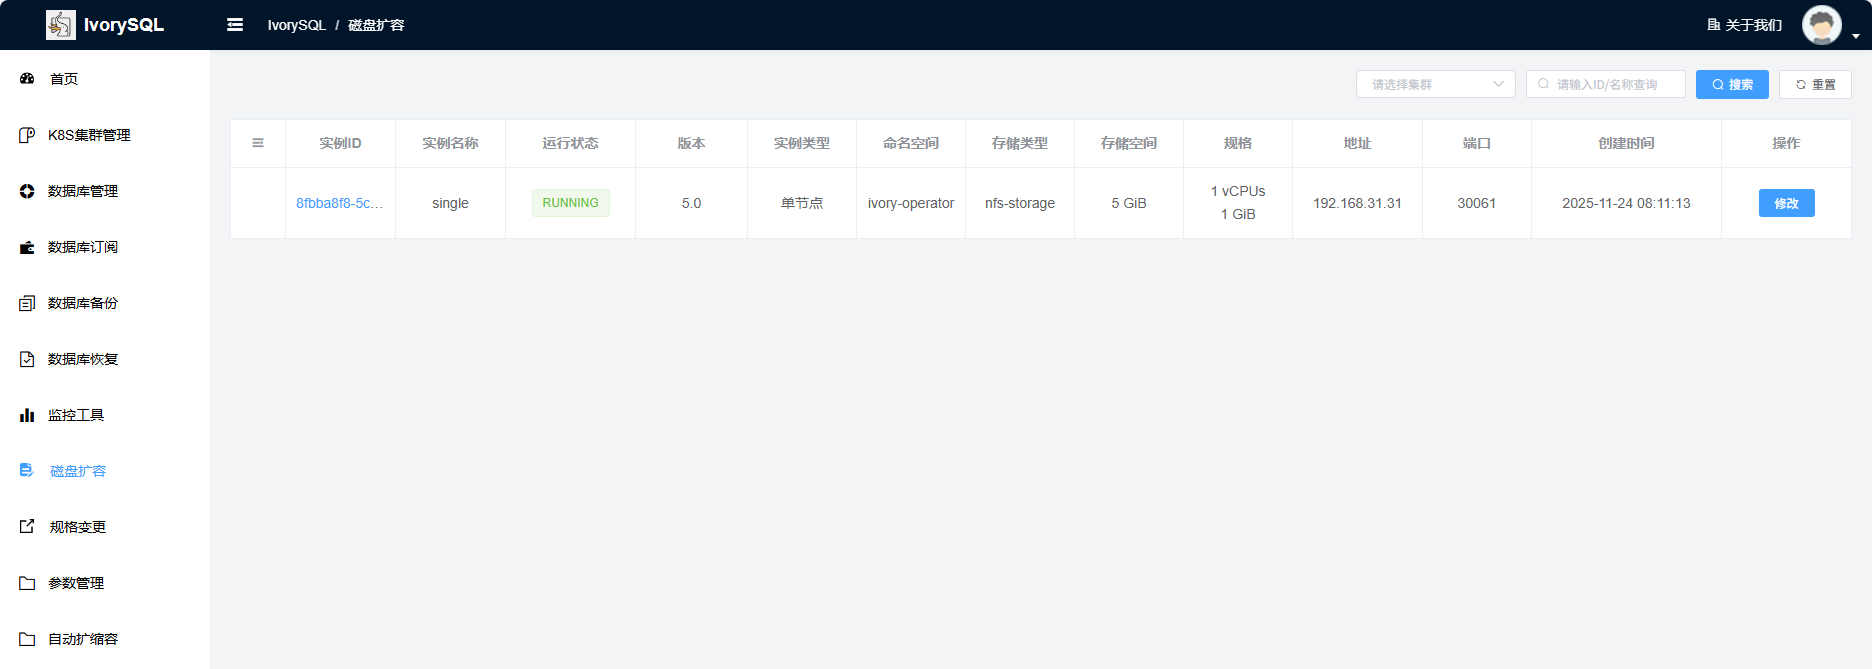
-
Enter the expanded storage size and click Confirm.

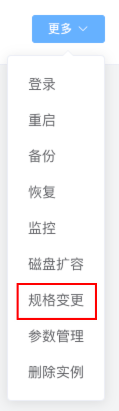
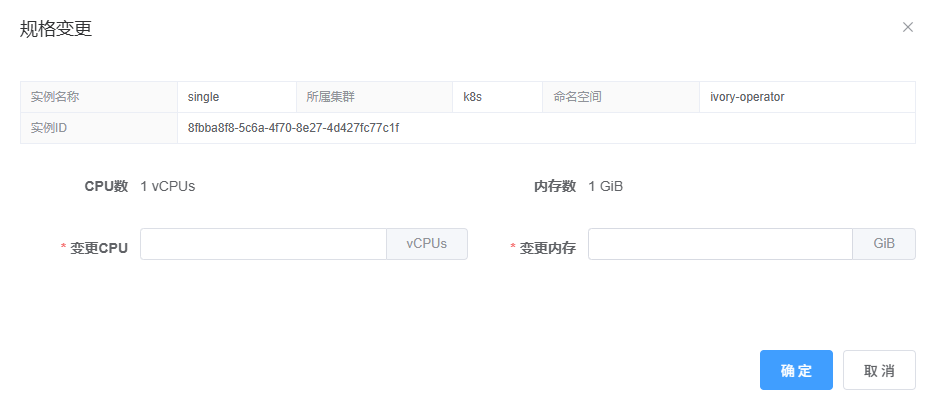
3.7. Specification Change
-
Sign in with the
demouser. -
Click Specification Change, select a database, then click Edit in the Actions column; or go to Database Management, click More, and choose Specification Change.
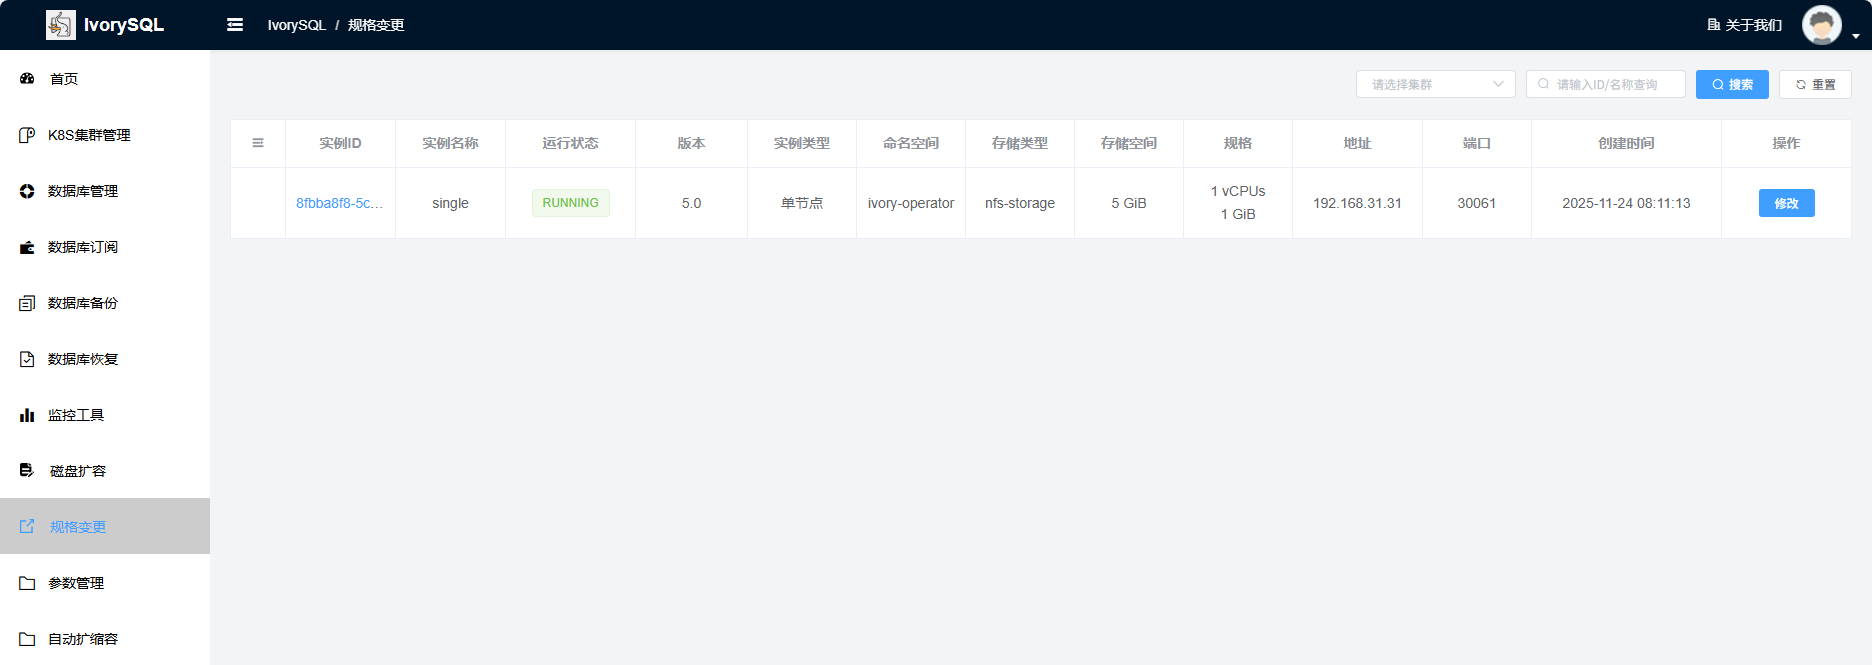
-
Enter the new specification and click Confirm.
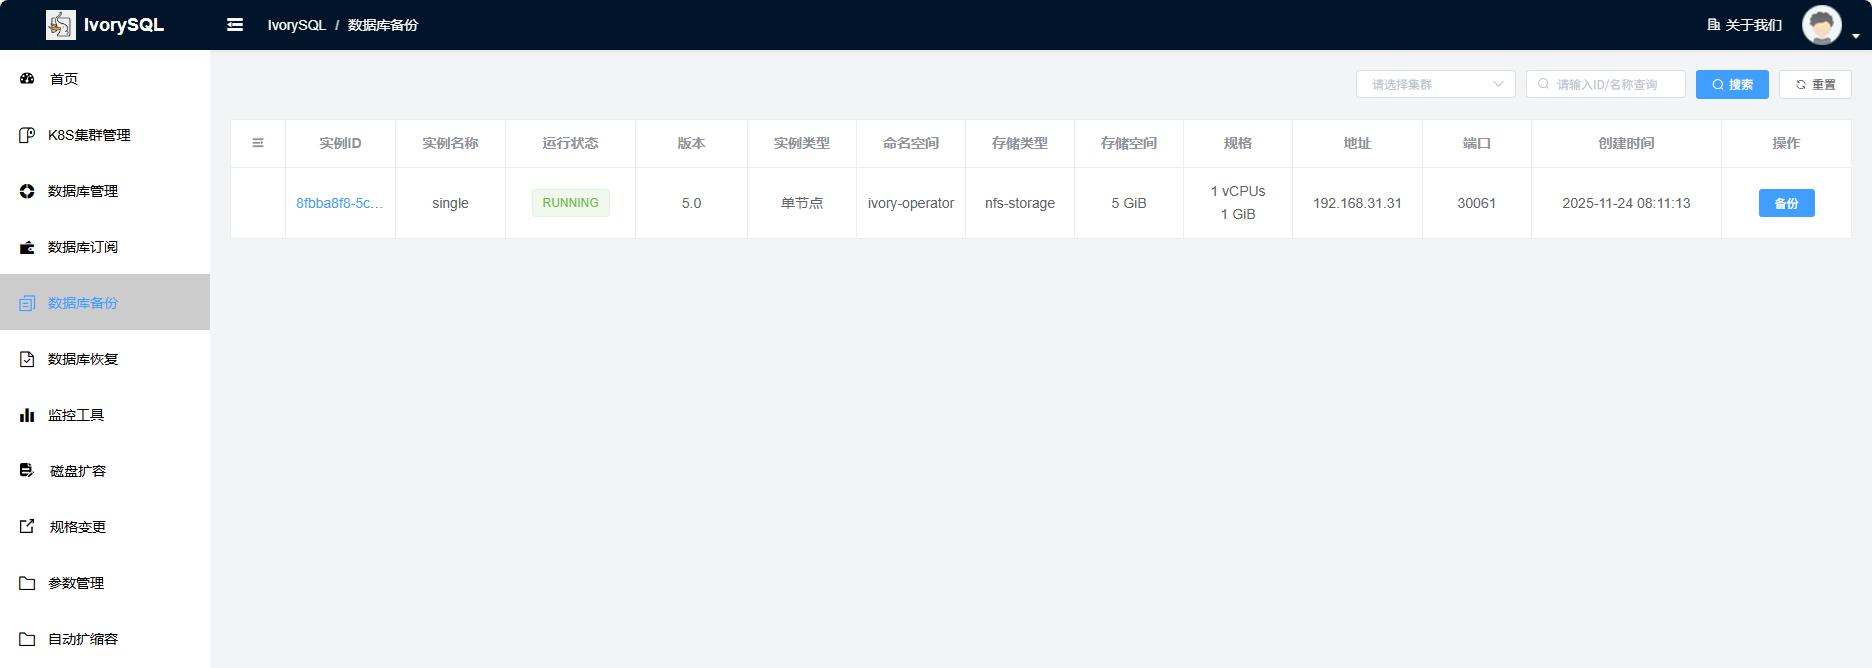
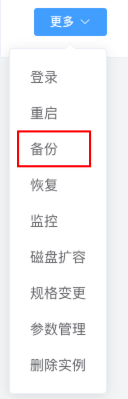
3.8. Database Backup
-
Sign in with the
demouser. -
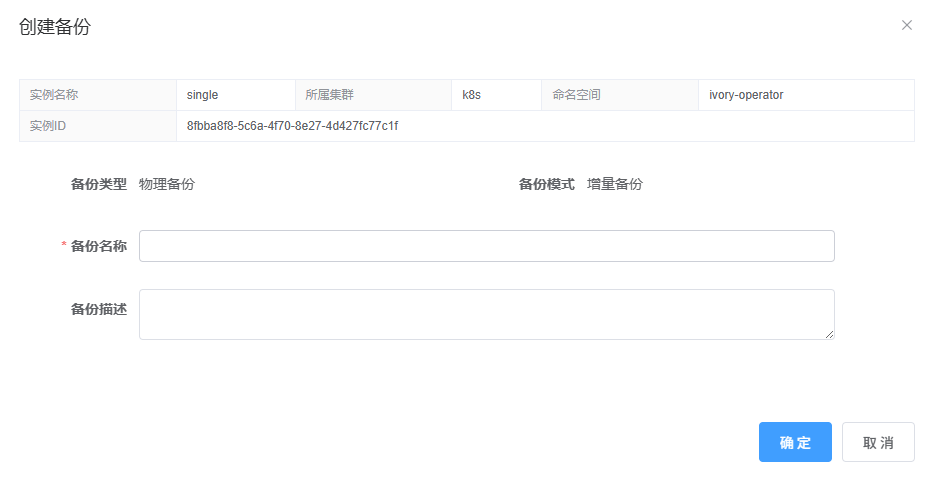
Go to Database Backup, select a database, and click Backup in the Actions column; or go to Database Management, click More, and choose Backup.
-
Enter a backup name and click Confirm.
3.9. Database Restore
-
Sign in with the
demouser. -
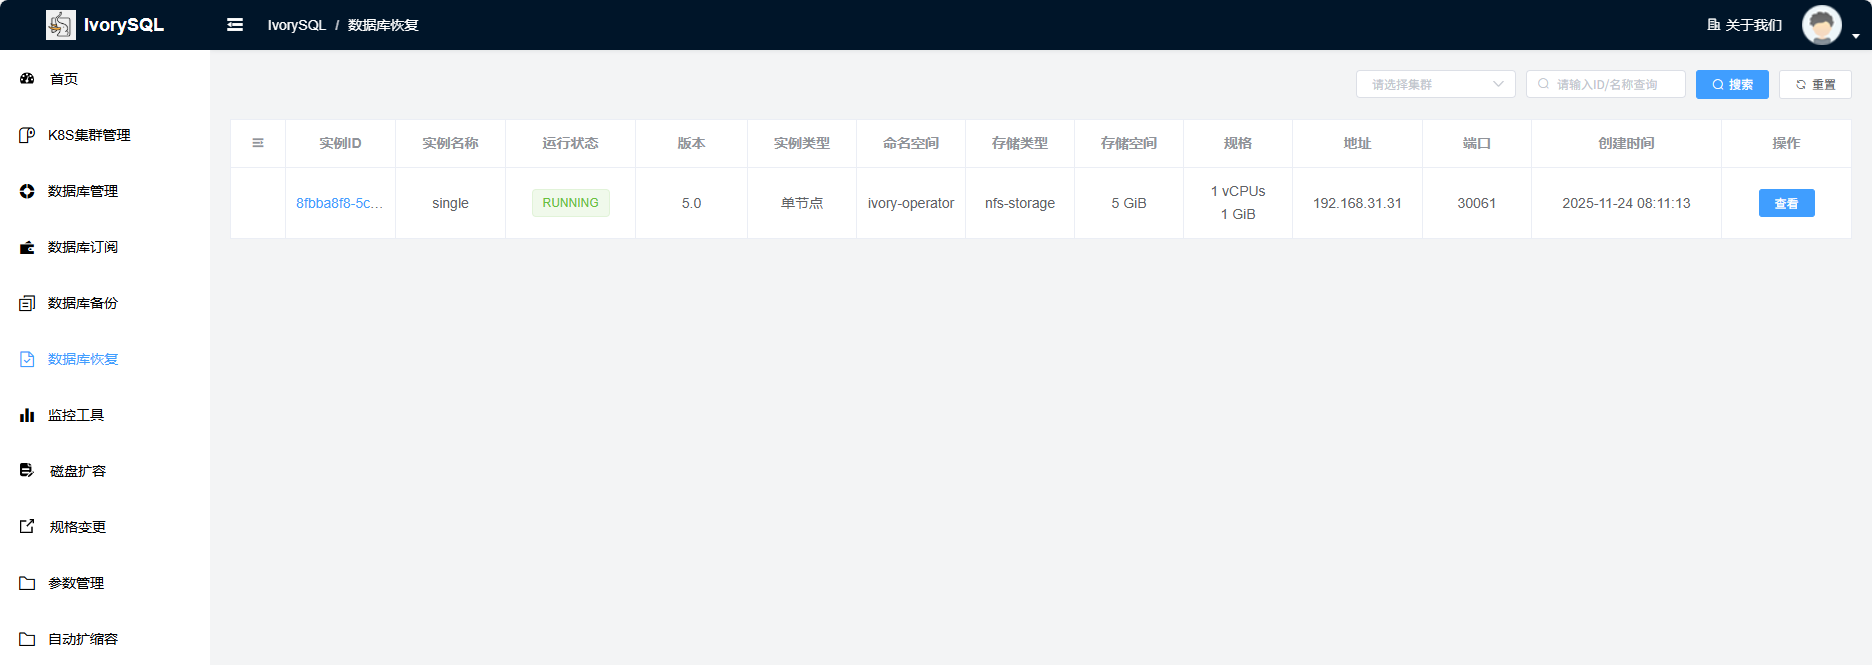
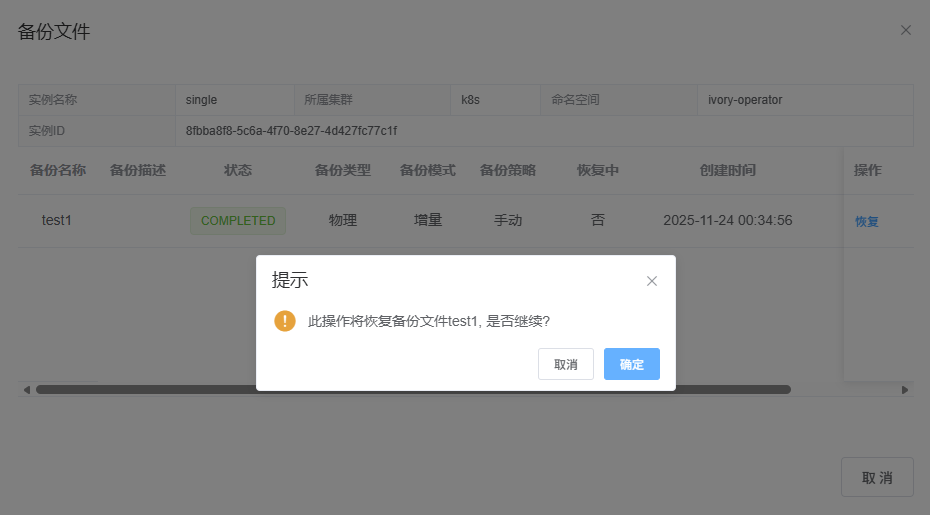
Go to Database Restore, select a database, and click View in the Actions column; or go to Database Management, click More, and choose Restore.
-
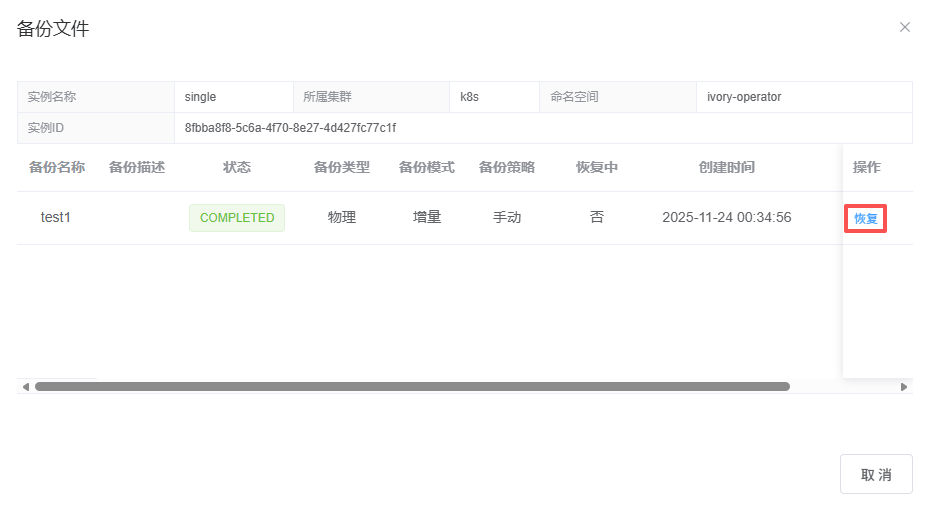
Select the backup file and click Restore in the Actions column.
-
Enter the target database information. Use the database password from before the backup.
-
Continue following the workflow described in “4.1 Database Subscription”.
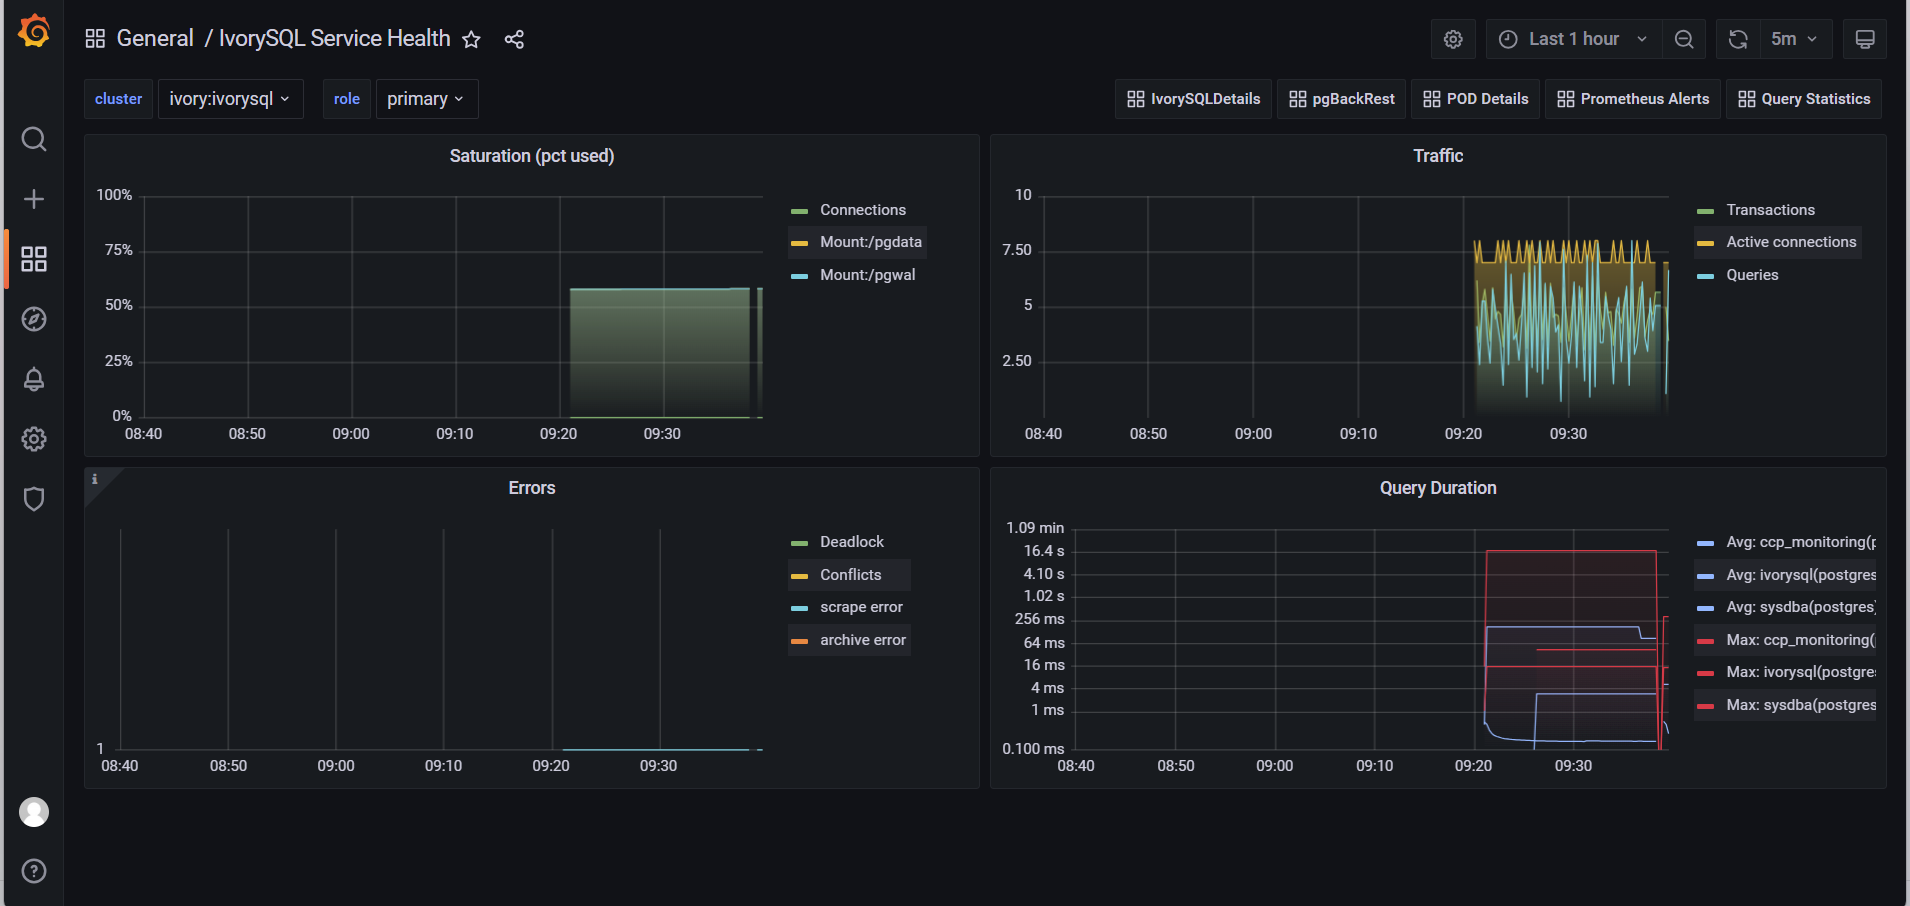
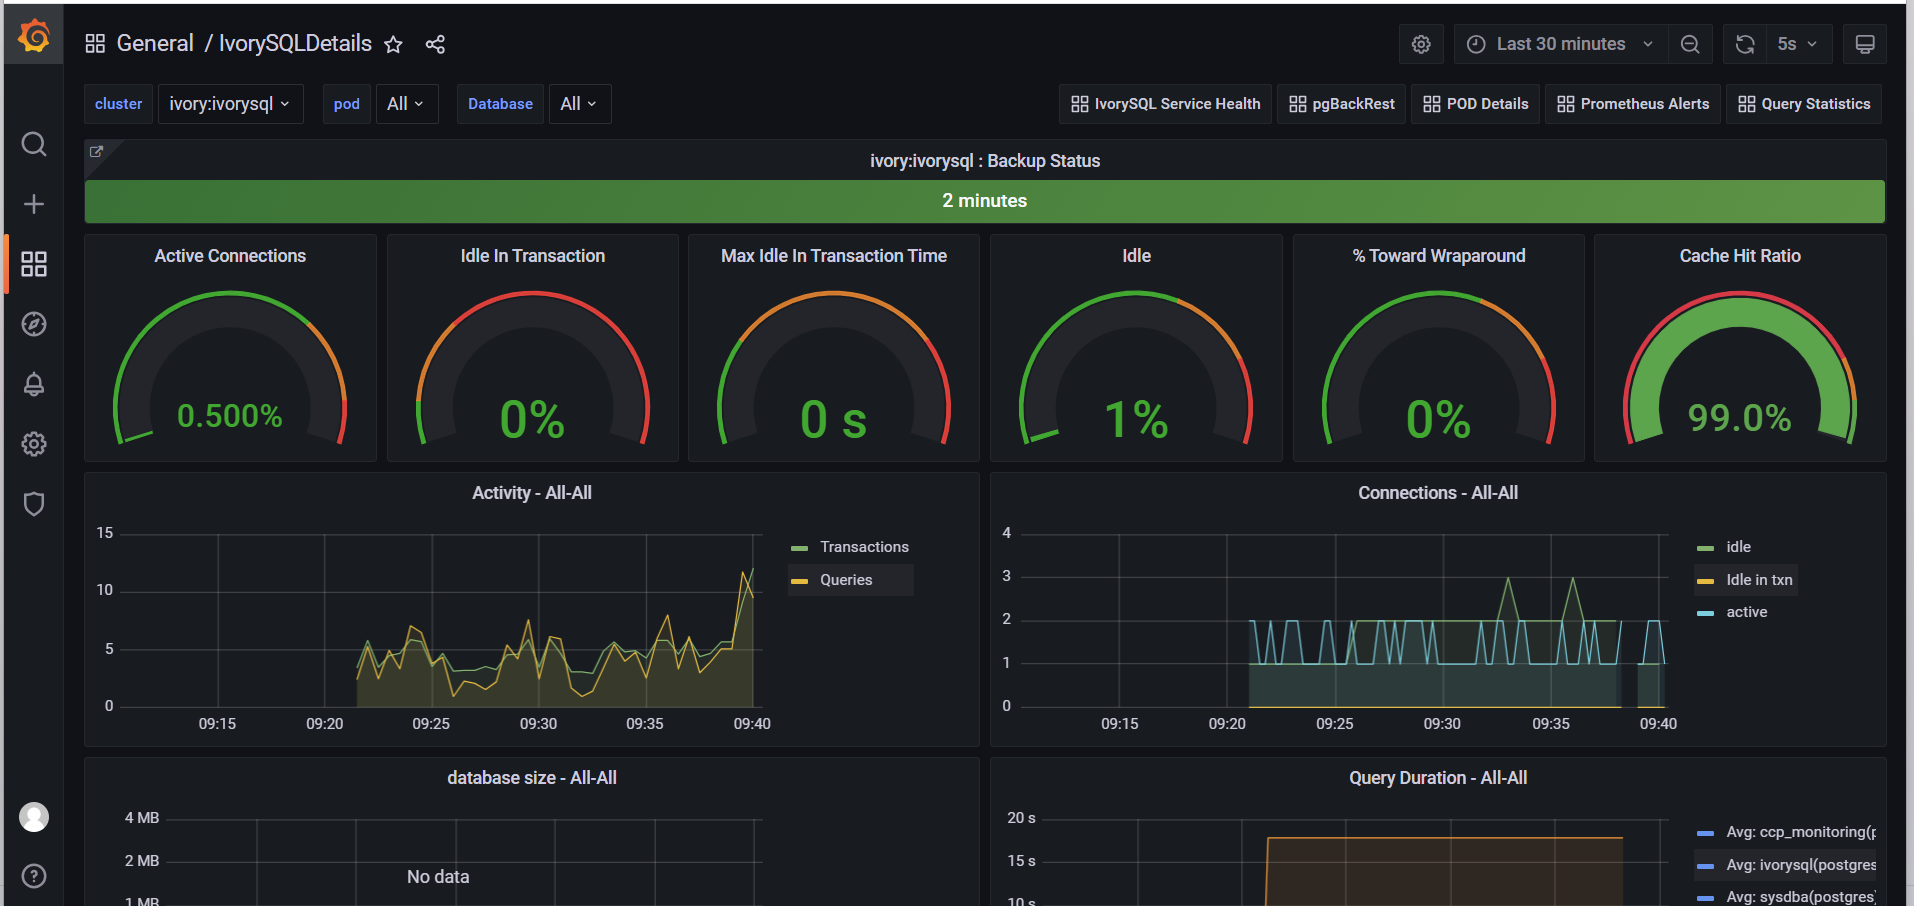
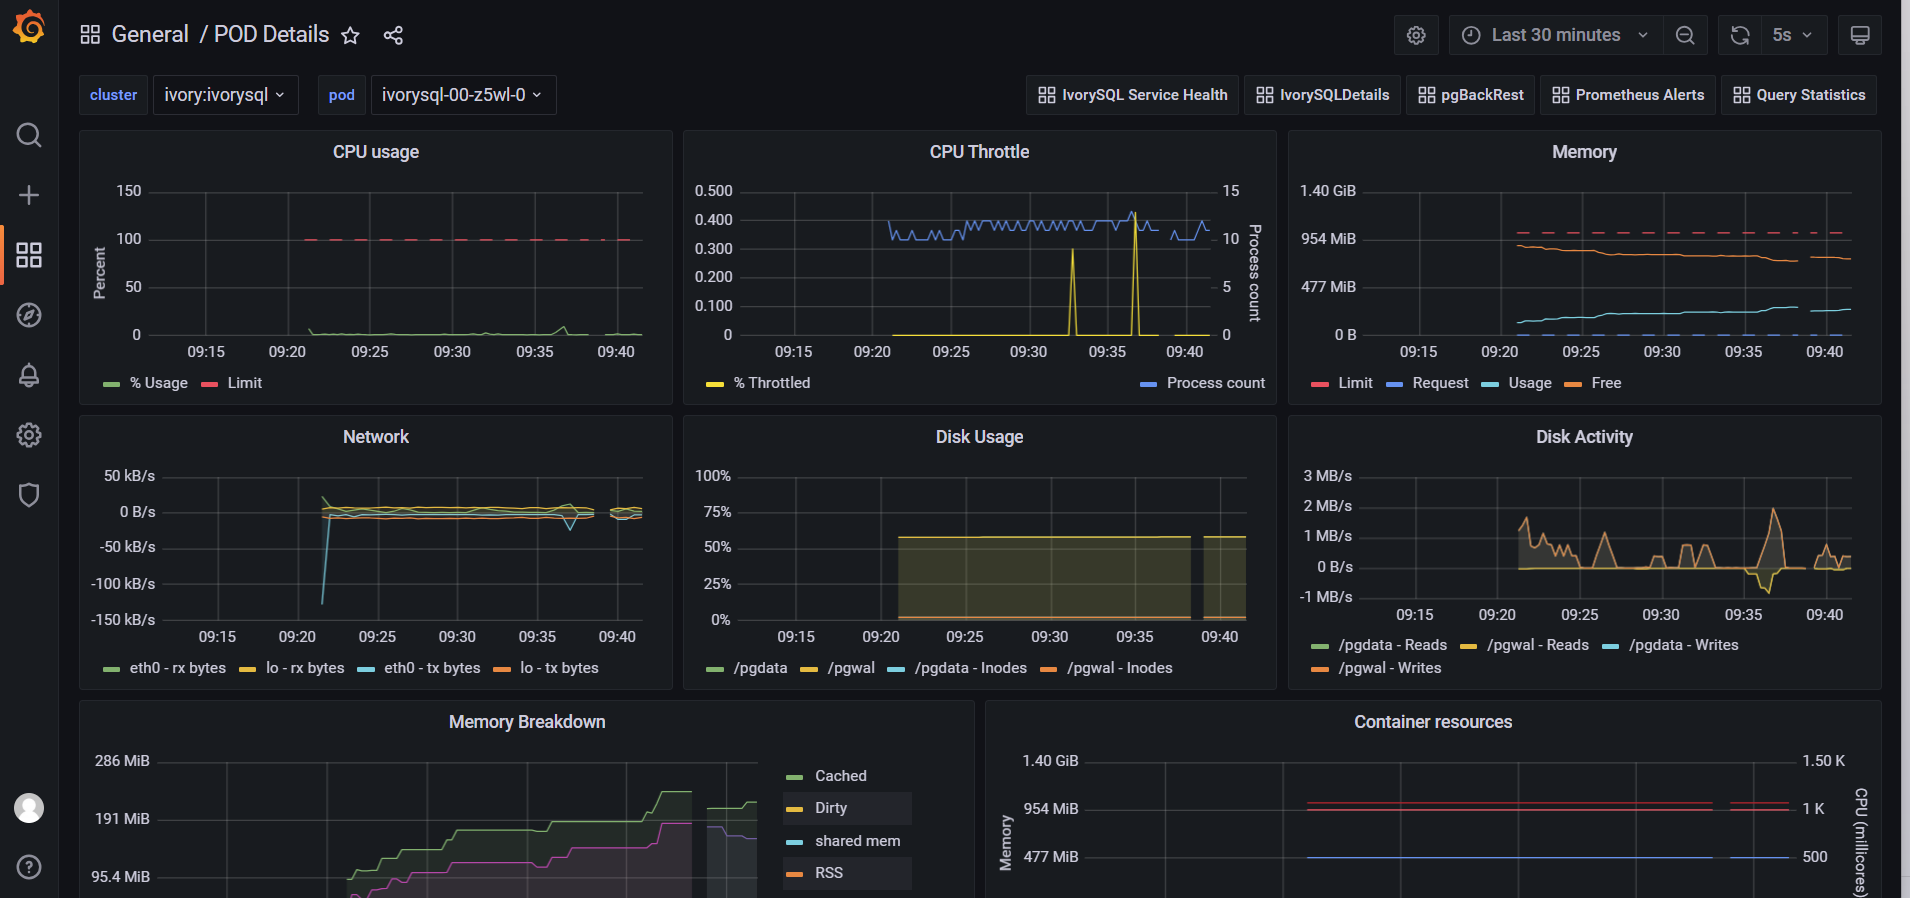
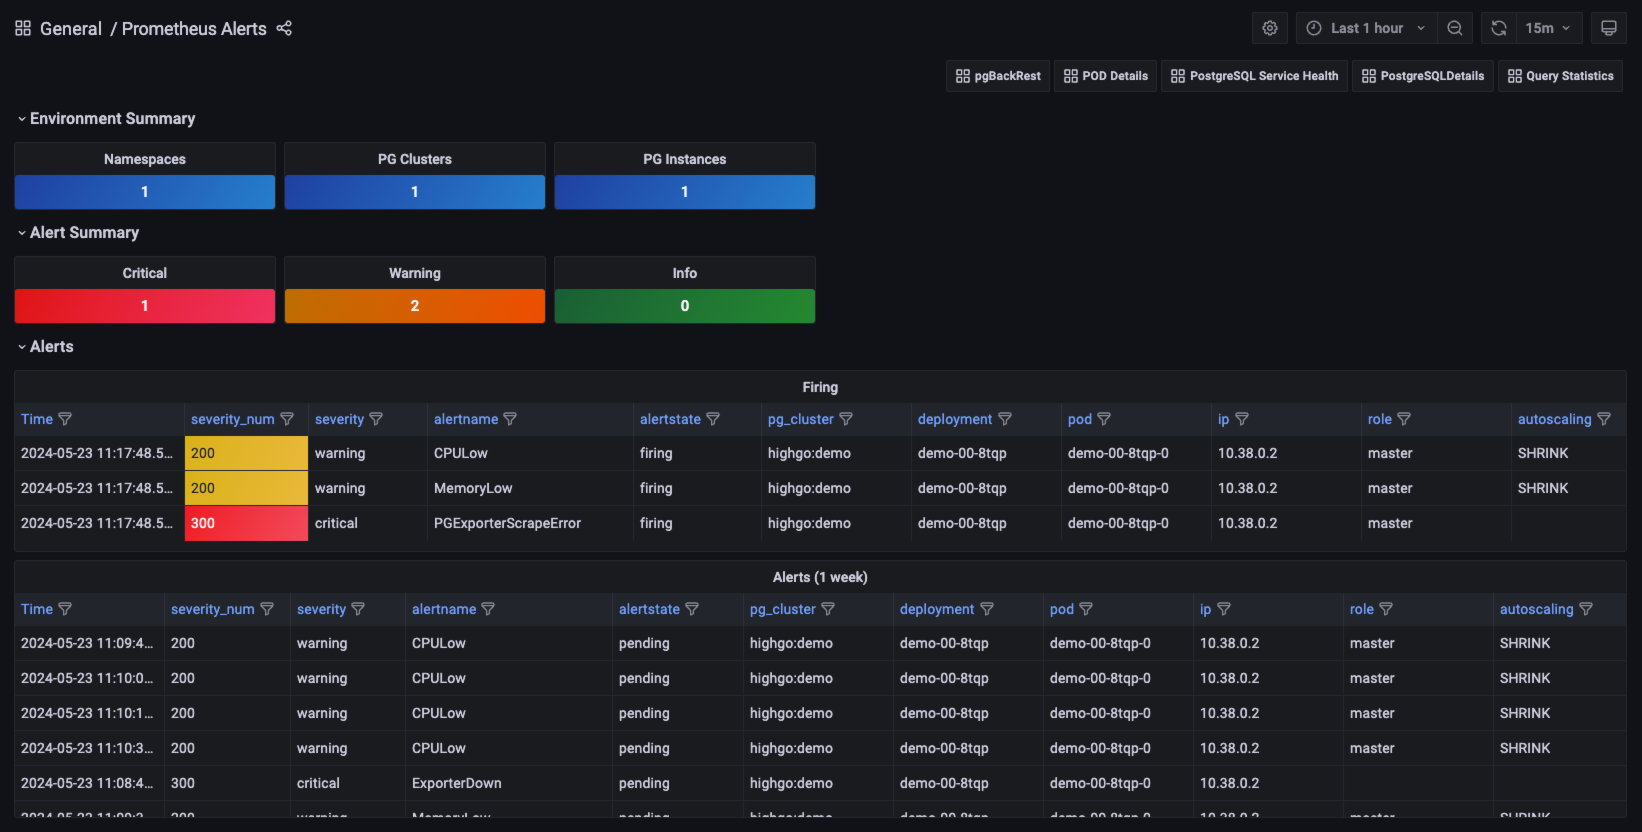
3.10. Database Monitoring
-
Sign in with the
demouser. -
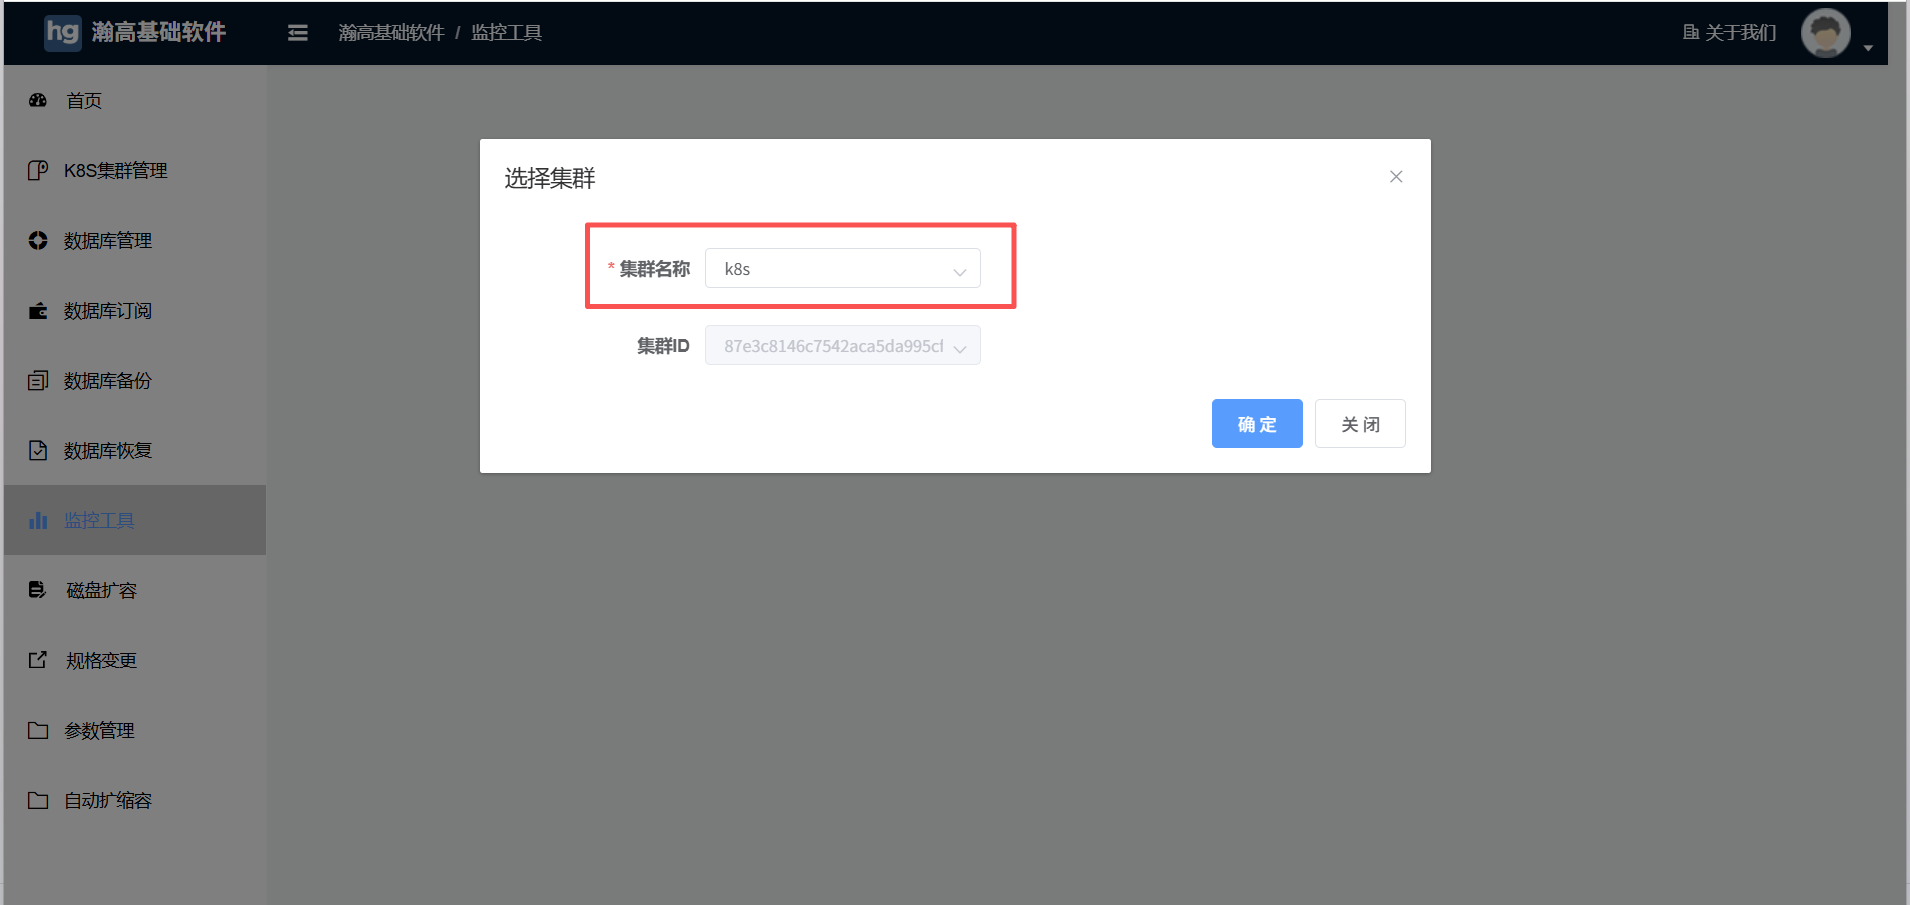
Click Monitoring Tools in the left navigation and select the cluster where the database resides; or go to Database Management, select a database, click More, and choose Monitoring.

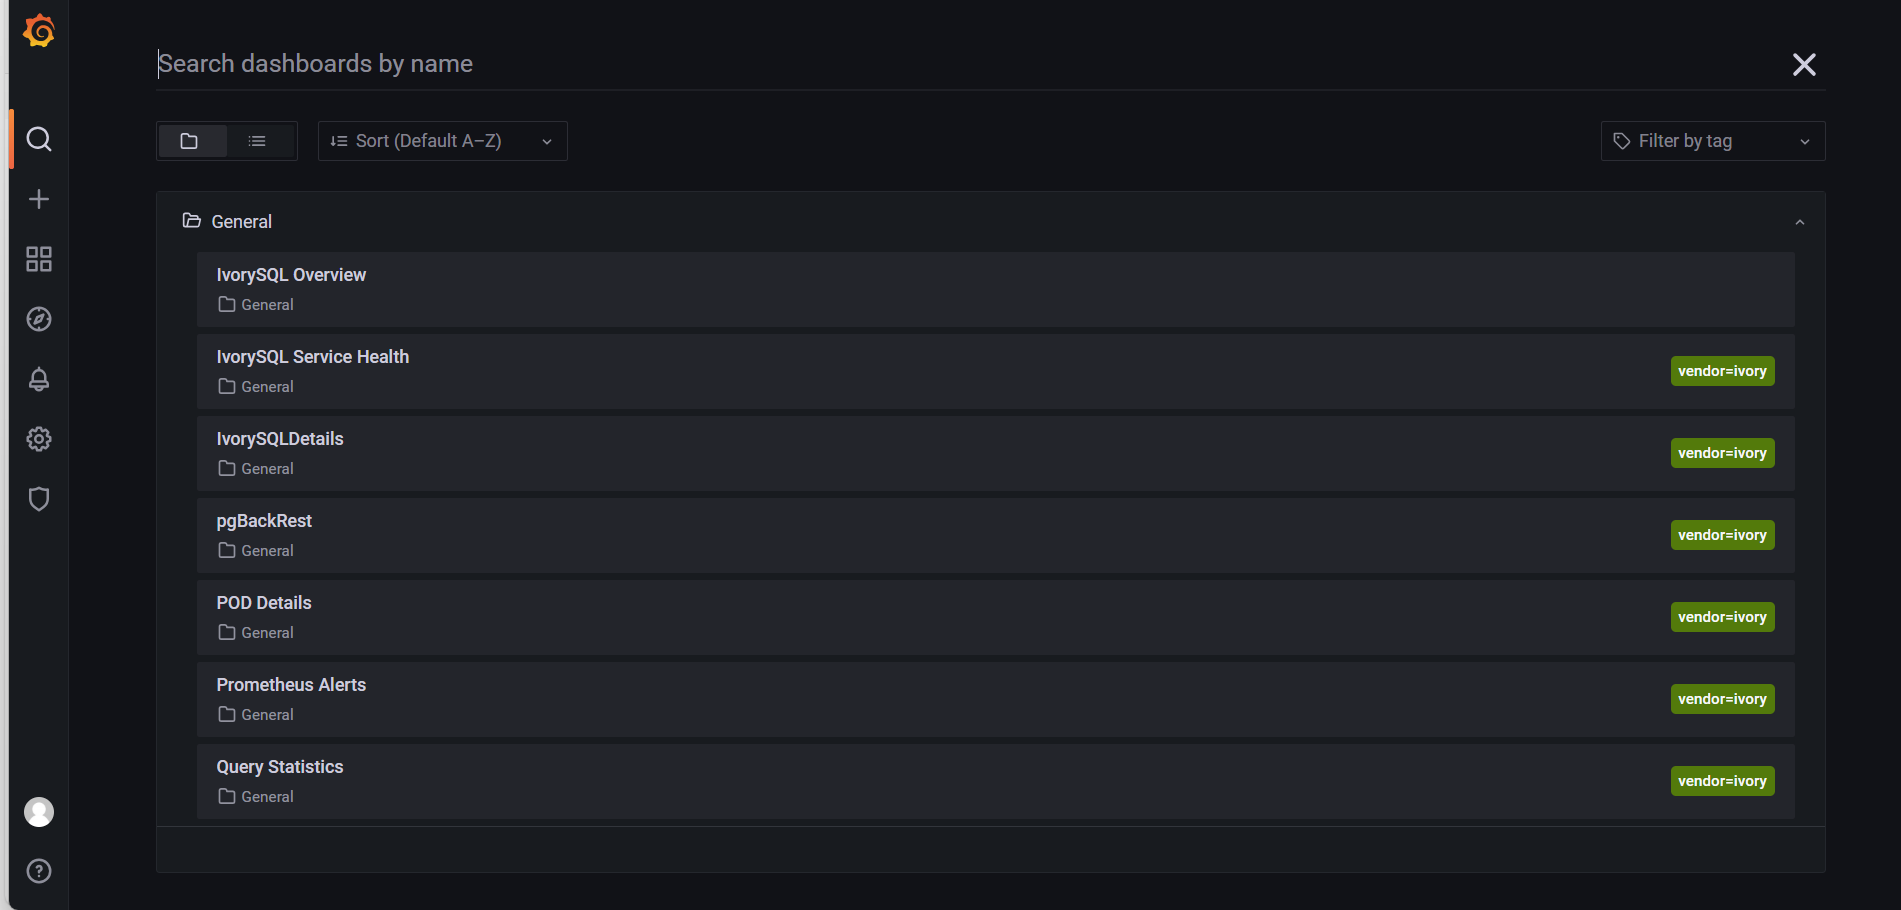
-
After the monitoring stack is created, repeat step (2) to open the monitoring page, then sign in with
admin/adminand click Login.

-
Click the magnifying glass icon to view monitoring metrics.

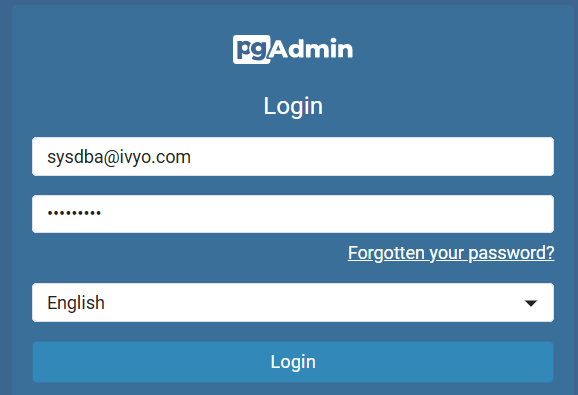
3.11. Visual Login Tool
-
Sign in with the
demouser. -
Go to Database Management, select a database, click More in the Actions column, and choose Login.

-
On the new page, enter the database account
sysdba@ivyo.comand the database password, then click Login.
-
Once the connection is established, you can operate on the database.